4. Setting up a material for the dynamic material
Before we start programming our dynamic material, we need to create a static material. This material will be used to create our dynamic material. You can create a new material by going to the “Content” folder in the Content Browser. Right click in the content browser and click on “Material”.

Img 10, Creating a material
By double clicking on our material, a new window will open where we can edit our material. First let’s create a vector parameter. Right click on the grid and type “Vector Parameter”.
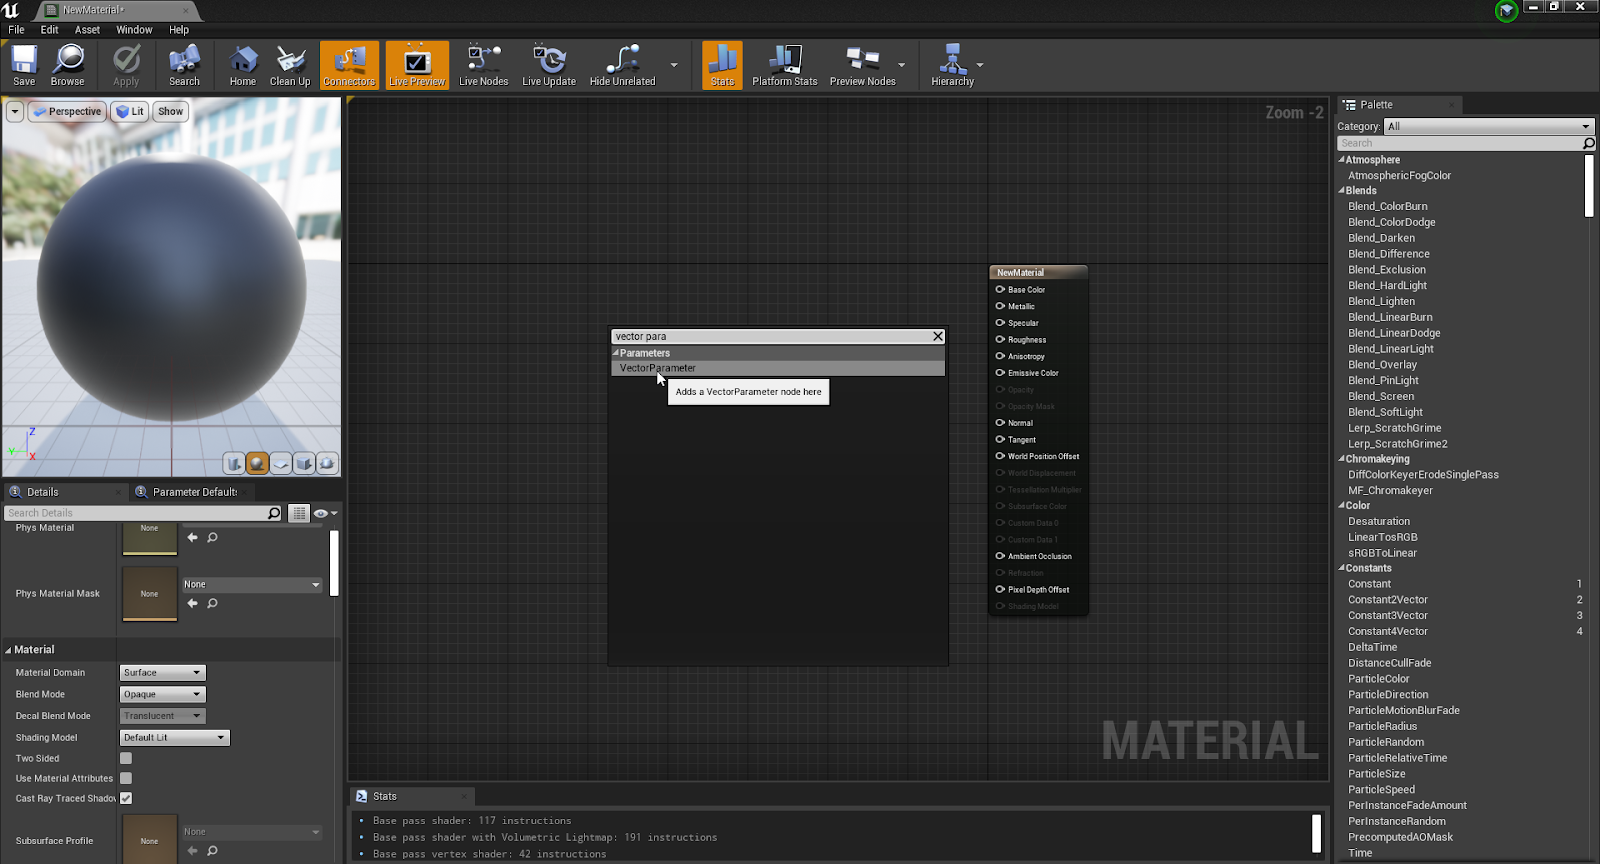
Img 11, Searching and selecting the vector parameter node
Click on the “Vector Parameter” option. A new node will appear. By clicking on the node, you can edit the details of the node. For us, it’s important to set a clear parameter name. The parameter name will be used for our code later. I’ve called my node “EmissionColor”, because this parameter is going to determine what color our dynamic material is going to emit.

Img 12, Setting the vector parameter name
Let’s create a scalar parameter to get control over the emission strength. Again, right click on the grid and type “Scalar Parameter”. Click on the “ScalarParameter” option to create a scalar parameter node.
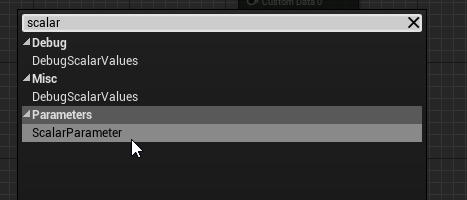
Img 13, Searching and selecting the scalar parameter node
We also need to give our scalar parameter a parameter name. I’ve called my parameter “EmissionStrength”.
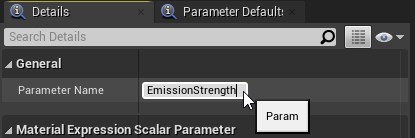
Img 14, Setting the scalar parameter name
We need a multiply node to combine our parameters for the emission output of our material. Right click on the grid, type in “Multiply” and click on the “Multiply” option to create the multiply node.
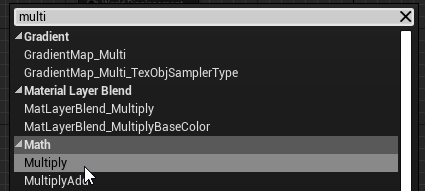
Img 15, Creating a multiply node
Connect all nodes as in image 16. You can connect the nodes, by holding your left mouse button on a slot and dragging it to another slot.
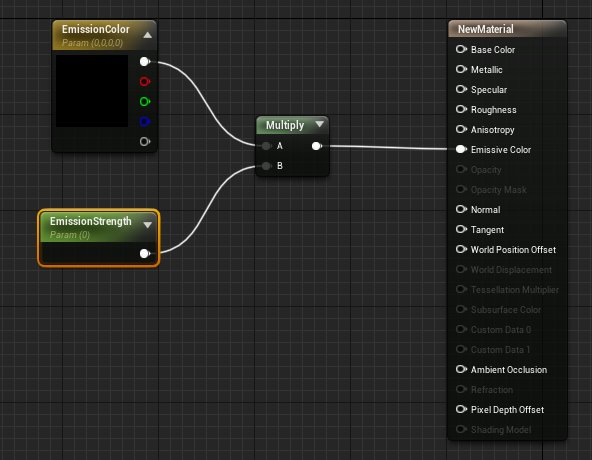
Img 16, Connecting all nodes
Save your material, by clicking on save in the left top corner of the window. The material is now ready to be used for our dynamic material.