5. Constructing a blueprint
We need a blueprint where we can combine our assets. A blueprint will allow us to create multiple instances that we can place in our level. You can create a blueprint in the same way as creating a material. Go to the Content Browser, right click in the content and select “Blueprint Class”.

Img 17, Creating a blueprint class
A new window opens. A blueprint is by UE4 seen as a type of class. We need our blueprint to inherit our class “DMObject” in order for our blueprint to have our code. Open “All Classes” at the bottom of the window and type in your class, I used “DMObject”. Click on your option to continue.
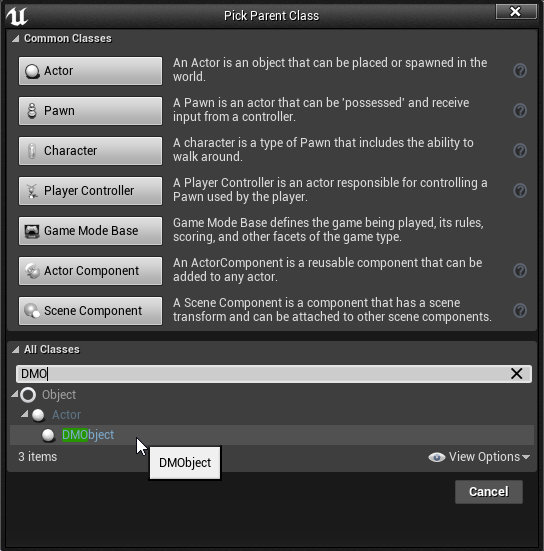
Img 18, Creating a BP that inherits “DMObject”
Open the newly created blueprint. We need to add a component that can hold a mesh with our material. Click on “+Add Component” in the left upper corner. A window will pop-up with a list of predefined components. Click on “Static Mesh” to create a static mesh component.
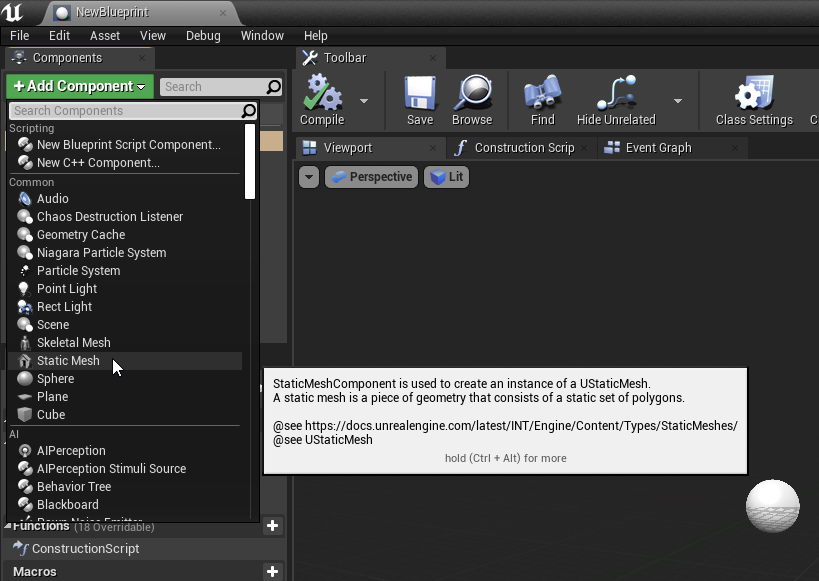
Img 19, Adding a static mesh component
Let’s choose a mesh that can hold our material. By clicking on the arrow next to “None” at “Static Mesh” a window will open with a list of predefined meshes. It’s possible you see no option. UE4 has content available, which you can access by clicking on “View Options” and “Show Engine Content”. We’ll choose the “ArcadeEditorSphere” as our static mesh.
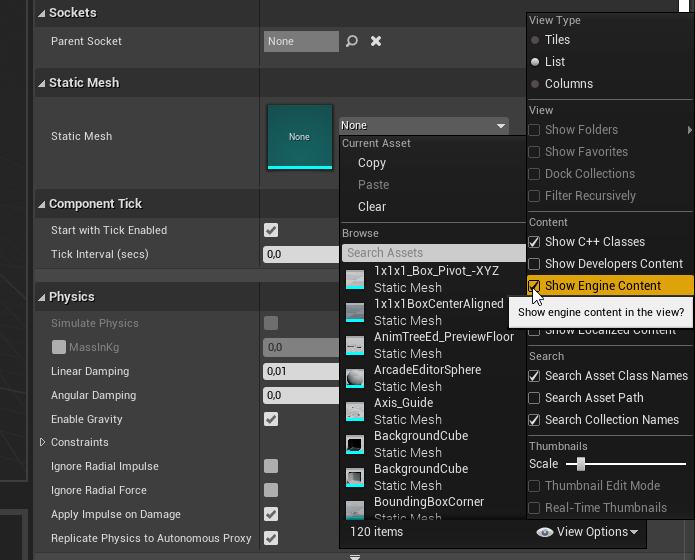
Img 20, Accessing and selecting engine content
The option to use a material appears. Select our created material in “Element 0”
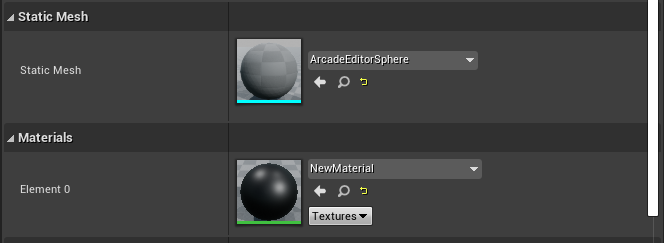
Img 21, Selecting material
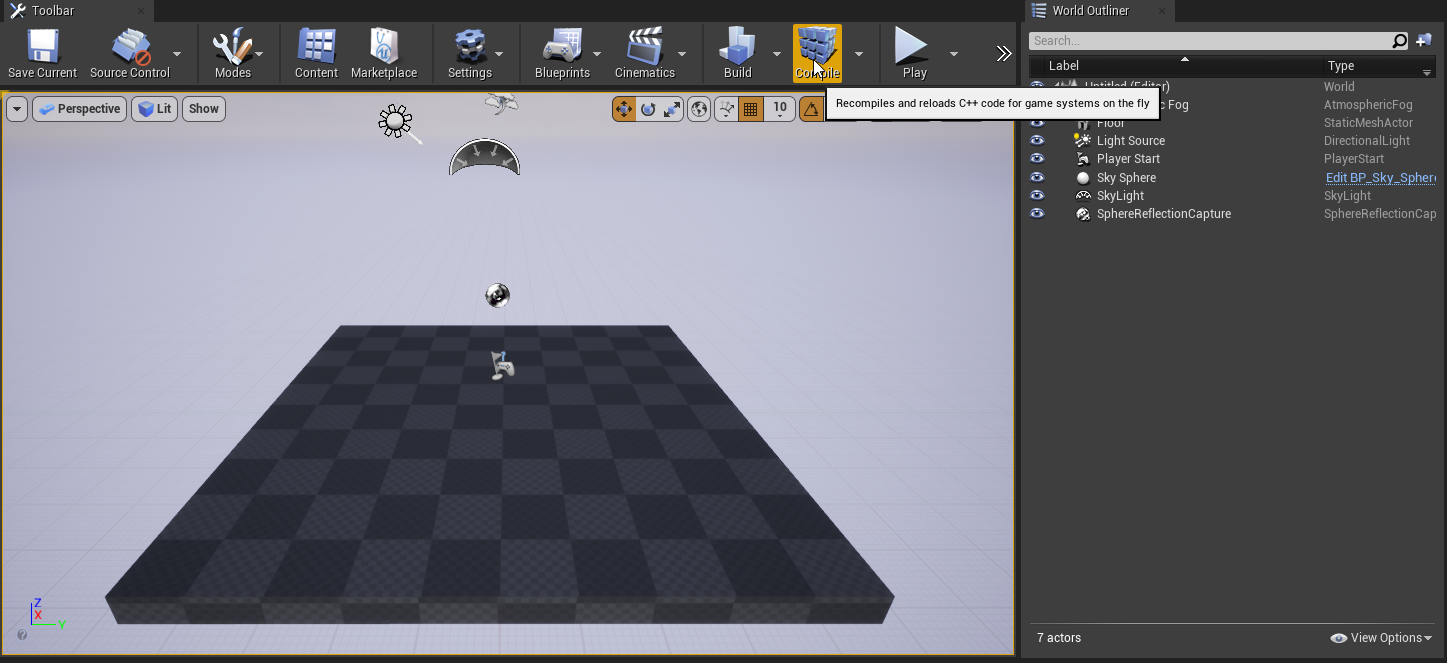
The blueprint is now ready. Do not forget to compile your blueprint, to save and implement your changes. Click on compile in the left upper corner.
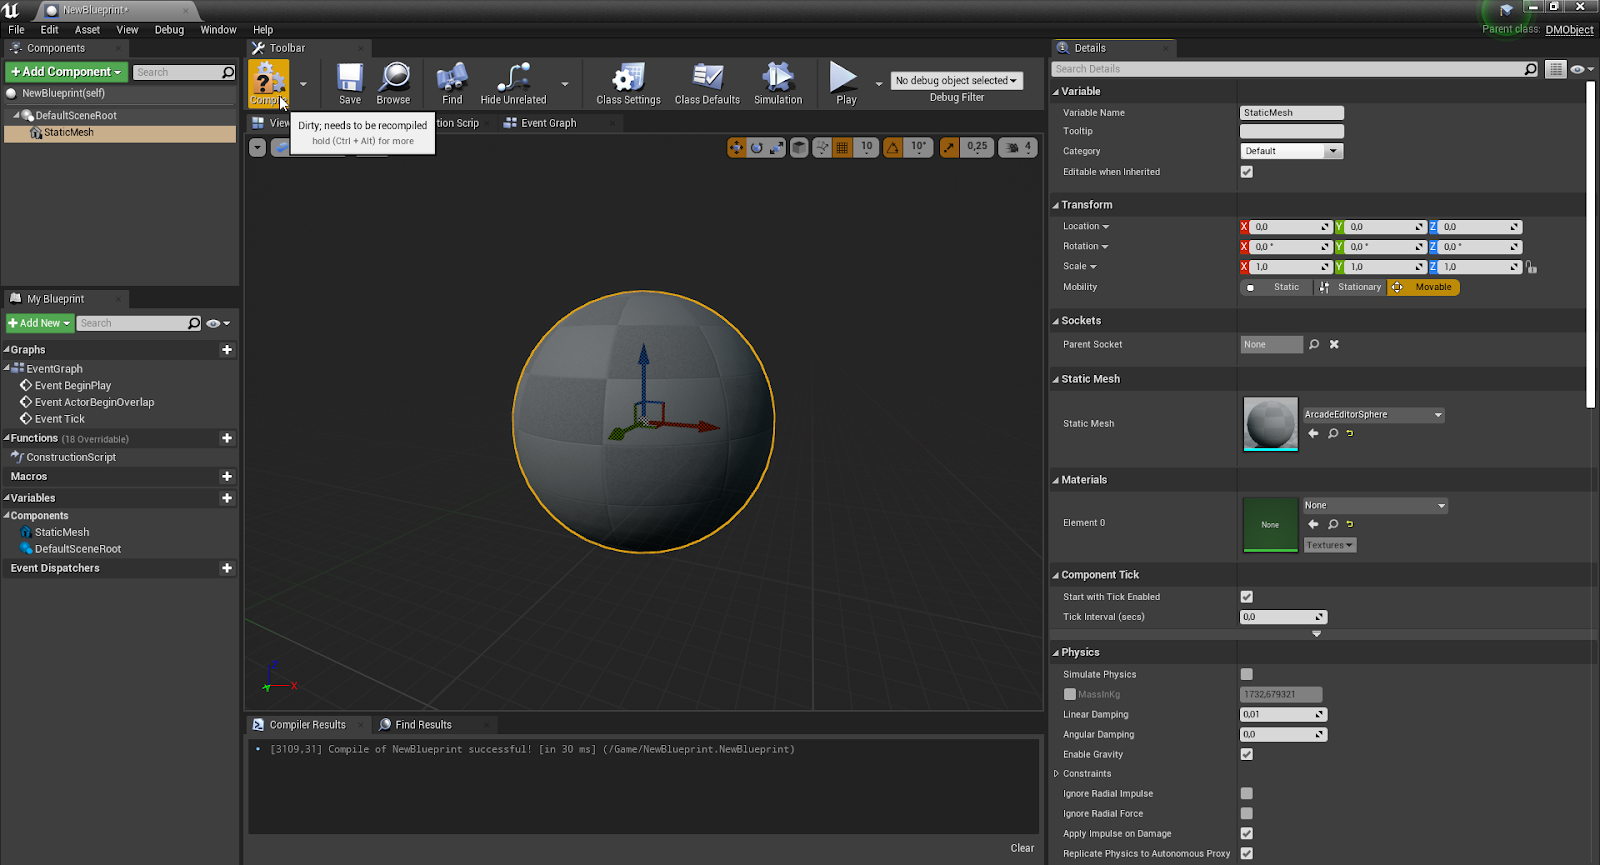
Img 22, Compiling blueprint